

few years ago, I found myself in a position where I needed a significant amount of money fast. I had an unexpected medical emergency in my family, and my personal savings just weren’t enough to cover the immediate hospital bills and follow-up expenses. I didn’t want to borrow money from friends or family because I wanted to take financial responsibility myself, so I decided to apply for an unsecured personal loan.
Looking back, the process wasn’t nearly as scary as I thought it would be, but I did make a few foolish mistakes along the way—like applying at multiple banks at the same time and nearly falling for hidden processing fee traps!
If you need urgent funds for a medical emergency, home renovation, wedding, or sudden travel, I want to make sure your journey is completely smooth and stress-free. Here is my honest, step-by-step guide on how to get a personal loan in India, written entirely from my own real-life experience.
What is a Personal Loan and Why Did I Choose It?
When I first started looking for options, I didn’t even know the exact technical difference between various loan types. A personal loan is an unsecured loan, which simply means you don’t have to pledge any asset—like your house, gold, or car—as collateral to get the money.
Here is why a personal loan felt like the right choice for my situation:
- No Collateral Needed: I didn’t have to pledge my gold or fixed deposits as security.
- No Usage Restrictions: Unlike a home loan or car loan, the bank didn’t ask me to prove exactly how every single rupee was spent. I could use the money for medical bills, pharmacy expenses, and home care.
- Quick Disapproval or Approval: Because the documentation process is mostly digital these days, the money hit my account within 48 hours of approval.
Check Your Credit Score First
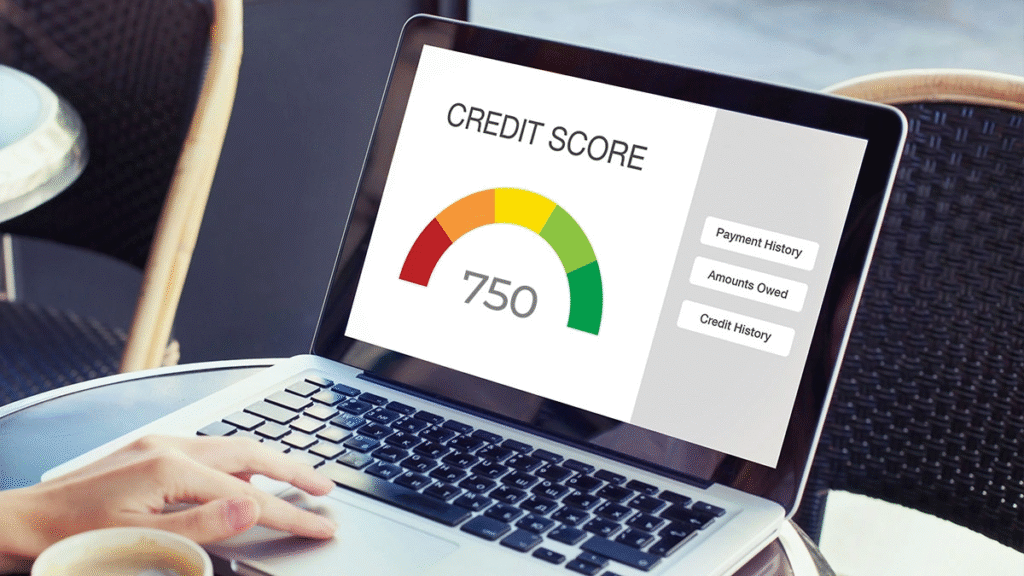
Before you fill out a single Personal Loan application form, check your CIBIL or credit score! This was the very first thing a helpful bank representative told me when I walked into my home branch.
Your credit score is a three-digit number ranging from 300 to 900 that tells lenders how responsibly you manage debt.
- Score Above 750: This is the sweet spot. When the bank checked my credit score and saw it was 780, their tone changed instantly. They offered me lower interest rates and waved off half the processing fee!
- Score Between 650 and 740: You can still get a loan, but banks might charge you a slightly higher interest rate or ask for extra income proof.
- Score Below 650: Getting an unsecured loan becomes very tough. If your score is low, I strongly suggest fixing your credit score first by clearing small credit card balances before applying.
Pro Tip from My Experience: You can check your CIBIL score for free on official banking apps or financial websites without affecting your credit rating!
Eligibility Criteria You Need to Fulfill
When I applied, the bank checked my profile against basic eligibility requirements. Every major lender in India—whether it’s HDFC, ICICI, SBI, Axis Bank, or NBFCs—follows a similar criteria list:
- Age: You generally need to be between 21 and 60 years old.
- Employment Type: Salaried employees (working in private companies, MNCs, or government setups) usually get approvals much faster than self-employed individuals because of stable monthly cash flow.
- Minimum Salary: Most banks require a minimum monthly net salary of ₹15,000 to ₹25,000 depending on whether you live in a metro city or a smaller town.
- Work Experience: Lenders want to see that you have been working for at least 1 to 2 years in total, with at least 6 months at your current employer.
Documents For Personal Loan You Must Keep Ready

The main reason Personal Loan applications get delayed is missing paperwork. I spent an entire evening scanning my Personal Loan documents and creating a neat digital folder on my laptop, which made uploading them on the bank portal super fast.
Here is the exact document checklist I used:
1. Identity Proof (Any One)
- Aadhaar Card
- PAN Card (Mandatory for almost all bank loans)
- Passport or Driver’s License
2. Address Proof (Any One)
- Passport
- Utility bills (Electricity or Gas bill in your name)
- Rental Agreement alongside a recent utility bill
3. Income Proof
- For Salaried Persons: Last 3 months’ salary slips and Form 16 from your employer.
- For Self-Employed Persons: Income Tax Returns (ITR) for the last 2 years alongside computation of income sheets.
4. Bank Statements
- Last 6 months’ official bank account statements showing your regular salary credits.
How to Compare Personal Loan Interest Rates and Hidden Charges

When I started researching, I almost signed a loan offer from a private lender charging 16% interest simply because their agent was polite on the phone! Luckily, my elder sibling stopped me and told me to shop around.
Here are the key financial numbers you must compare:
- Interest Rates: Rates usually range from 10.5% to 24% per year depending on your profile. State-run banks (like SBI or Bank of Baroda) often offer lower rates, while private banks process loans faster.
- Processing Fees: Banks charge a one-time fee to process your application, usually between 1% and 3% of the total loan amount. Always negotiate this! I managed to get my processing fee reduced from 2% to 1% just by asking politely.
- Prepayment & Foreclosure Charges: This is a huge hidden trap. If you get a bonus or extra savings six months later and want to pay off your loan early, some banks charge a heavy penalty (around 3% to 5% of the outstanding amount). Choose a bank with low or zero foreclosure charges!
My Step-by-Step Personal Loan Application Process
Once I gathered my documents and picked the right bank, the actual application process took under 30 minutes online. Here is how you can do it:
Step 1: Calculate Your Monthly EMI
Before applying, use an online Personal Loan EMI Calculator. Put in your required loan amount, expected interest rate, and repayment tenure (1 to 5 years). Make sure your monthly EMI does not exceed 30% to 40% of your net monthly take-home income!
Step 2: Apply Through Official Bank Portals
Go directly to the official bank website or net banking app. Avoid sketchy third-party links or unsolicited WhatsApp messages offering “instant 0% interest loans”—those are almost always scams!
Step 3: Upload Documents and Complete Digital KYC
I filled in my basic personal details, uploaded my PAN card, Aadhaar, and salary slips, and completed a quick 2-minute video KYC call with a bank officer holding my physical PAN card.
Step 4: Verification Call and Approval
A credit manager reviewed my profile and called me to verify my current office address and employment details. Once verified, I received an official loan sanction letter in my email inbox detailing the exact EMI, interest rate, and tenure.
Step 5: Loan Disbursal
After I e-signed the digital loan agreement and set up an auto-debit (NACH mandate) for monthly EMI deductions, the full loan amount was credited directly to my savings bank account within a day!
Dangerous Personal Loan Mistakes I Avoided (And You Should Too)

During my search, I learned a lot about how people accidentally ruin their personal finances while getting a loan. Make sure you stay away from these common traps:
- Applying at Multiple Banks Simultaneously: Every time you officially apply for a loan, the bank pulls a “hard inquiry” on your credit report. Applying at five banks at once makes you look credit-hungry and instantly drops your CIBIL score!
- Borrowing More Than You Need: Just because the bank offers you a loan pre-approval of ₹10 Lakhs doesn’t mean you should take it all. I only needed ₹3 Lakhs, so I strictly took ₹3 Lakhs to keep my monthly EMIs manageable.
- Falling for Unregistered Loan Apps: Stick strictly to RBI-registered banks and NBFCs. Many illegal instant loan apps on app stores charge extortionate interest rates and engage in unethical recovery practices.
My Four Golden Personal Loan Rules for Stress-Free Repayment
Getting the money in your account is easy—paying it back on time without ruining your peace of mind requires a bit of discipline! Here are the four personal rules I followed:
- Set Up Auto-Debit On Day One: Ensure your monthly EMIs are automatically deducted from your account a day or two after your monthly salary hits.
- Never Miss an EMI Date: Missing a single EMI date damages your credit score instantly and triggers steep late payment penalties.
- Build an Emergency Backup Buffer: Always keep at least 1 to 2 months worth of loan EMIs saved separately in your account as a buffer in case your salary gets delayed.
- Prepay Whenever You Get a Bonus: Whenever I received an annual performance bonus at work, I used a portion of it to make part-prepayments on my loan, which drastically reduced my total interest burden over time.
FAQ’s
1. How long does it take to get a personal loan in India?
If you apply online with complete paperwork and a strong credit score, the loan amount is typically disbursed to your bank account within 24 to 48 hours.
2. What minimum credit score is required for a personal loan?
While you can get approved with a score above 650, a CIBIL score of 750 or higher gets you the lowest interest rates and fastest approvals.
3. What documents are needed to apply for a personal loan?
You need identity and address proof (Aadhaar, PAN), your last 3 months’ salary slips (or 2 years’ ITR), and your last 6 months’ bank statements.
4. Can I pay off my personal loan early?
Yes, most banks allow prepayment or full foreclosure, though some lenders charge a small penalty fee between 1% and 5% on the remaining amount.
5. How much of my monthly income should go toward loan EMIs?
Financial experts recommend keeping your total monthly EMIs within 30% to 40% of your net take-home salary to maintain smooth daily finances.